The DIY Lip Fix That’s Always in My Winter Routine
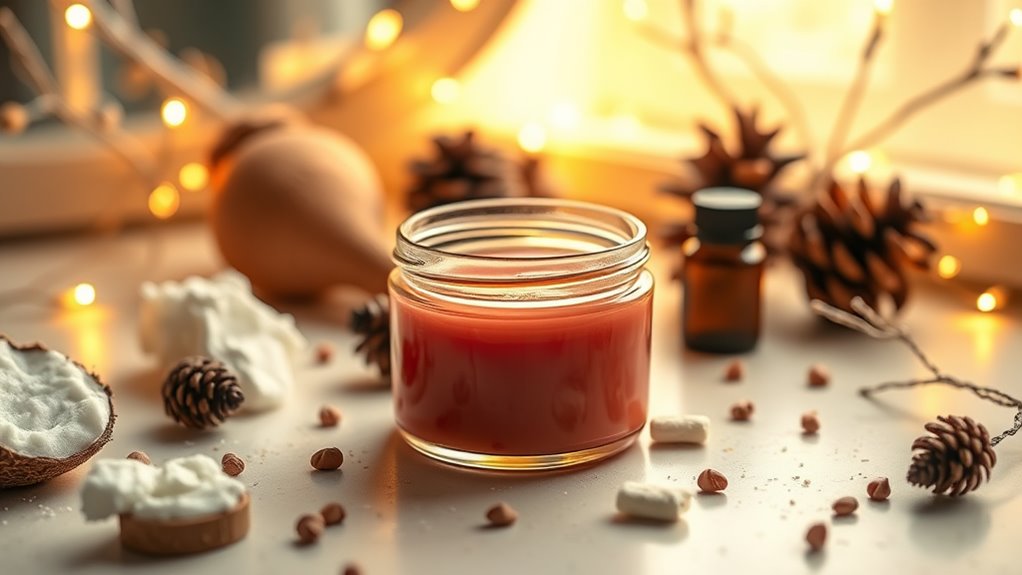
When winter strikes, your lips deserve extra care. This DIY lip fix is your winter lifesaver. With equal parts coconut oil and beeswax melted together, add honey and a few drops of essential oil for a soothing balm. Apply it throughout the day, focusing on the corners for lasting hydration. Store it properly to keep it fresh and effective. Want to know more about enhancing your lip care routine? There are additional natural ingredients you can try!
The Importance of Lip Care in Winter
When winter’s chill settles in, you mightn’t realize how much your lips suffer from the harsh conditions.
Cold air and dry indoor heat strip moisture away, leaving your lips cracked and uncomfortable.
A winter lip care tip to remember is to regularly apply a nourishing balm to keep your lips hydrated and protected, ensuring they stay soft and smooth all season long. Additionally, consider using natural remedies for extra care and moisture restoration.
Ingredients You’ll Need
To create your own DIY lip fix, you’ll need a few essential ingredients that work wonders in combating winter dryness.
Gather these items to ensure your lips stay hydrated and smooth:
- Coconut oil – deeply moisturizes and nourishes.
- Beeswax – provides a protective barrier.
- Honey – offers natural sweetness and healing.
- Shea butter – softens and soothes chapped lips.
Coconut oil is not only a hydrating agent but also contains antimicrobial properties that help protect your lips from harmful bacteria.
Get ready to pamper your pout!
Step-by-Step Guide to Making Your Lip Fix
Creating your own lip fix involves just a few simple steps that can make a world of difference for your winter-chapped lips.
Start by melting equal parts of beeswax and coconut oil in a double boiler. Once melted, stir in a few drops of essential oil for fragrance. Pour the mixture into a small container and let it cool. Additionally, incorporating natural antibacterial properties can enhance the effectiveness of your lip fix. Voila! You’ve got your DIY lip fix ready.
Tips for Applying Your DIY Lip Balm
Here are some tips to enhance your application:
- Use your fingertip for a gentle touch.
- Apply in layers for extra moisture.
- Focus on the corners of your lips.
- Reapply throughout the day for lasting hydration. Additionally, consider prioritizing hydration by drinking at least eight glasses of water daily to help prevent dryness.
Storage and Shelf Life
Properly storing your DIY lip balm is crucial for maintaining its effectiveness and freshness.
Keep it in a cool, dark place to prevent melting or spoilage. Using tinted or opaque containers can further shield it from light exposure.
Generally, your homemade balm will last about three to six months, but if you notice any off smells or changes in texture, it’s time to toss it.
Additional Natural Ingredients to Try
Once you’ve got your DIY lip balm stored properly, it’s time to explore some additional natural ingredients that can enhance your lip care routine.
Consider incorporating these options for extra nourishment:
-
Honey – A natural humectant that locks in moisture.
-
Coconut Oil – Provides hydration and a subtle shine.
-
Beeswax – Offers protective barriers against harsh weather.
-
Essential Oils – Infuse delightful scents and skincare benefits.
Additionally, adding natural sweeteners like stevia can enhance flavor and improve the overall lip balm experience.
Try them out!