Chapped Lips. This DIY Balm Heals Instantly!
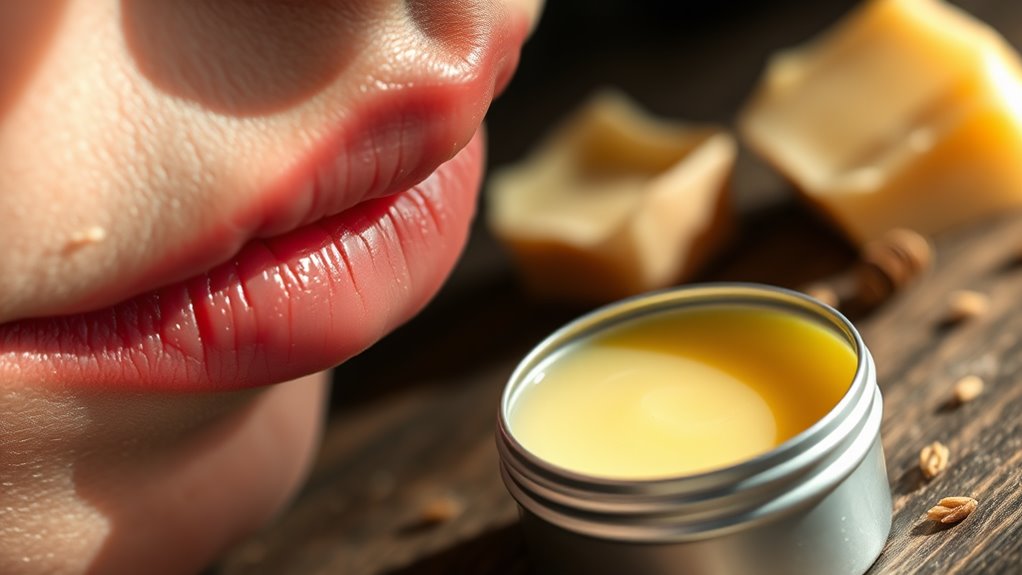
If you’re dealing with chapped lips, this DIY lip balm can work wonders. Combine beeswax with nourishing oils like jojoba and coconut, add shea butter for softness, and a touch of honey for sweetness. Melt the base in a double boiler, mix in your favorite essential oils, pour into containers, and let it cool. Apply a thin layer as needed, and store it in a cool place. Stick around to discover more tips for maintaining soft, luscious lips!
Understanding Chapped Lips and Their Causes
Chapped lips can be a real nuisance, leaving you uncomfortable and self-conscious. Understanding the causes is essential for effective prevention and treatment.
Often, dehydration plays a significant role; when your body lacks moisture, your lips suffer. Environmental factors like cold weather, wind, or excessive sun exposure can exacerbate the problem, stripping away natural oils.
Additionally, habits such as lip licking create a cycle of irritation by drying out the skin. Allergens from certain foods, cosmetics, or dental products may also contribute to chapped lips.
Recognizing these triggers allows you to take proactive measures, ensuring your lips remain soft and healthy. By mastering these insights, you can effectively combat and prevent the discomfort of chapped lips.
Essential Ingredients for Your DIY Lip Balm
Creating your own lip balm can be a rewarding experience, especially when you know exactly what goes into it.
To start, you’ll need a base, typically beeswax or a vegan alternative like candelilla wax, which provides structure.
Next, choose oils that hydrate; jojoba, coconut, and sweet almond oils are excellent options. These oils nourish and soften your lips.
For a touch of luxury, consider adding shea butter or cocoa butter for their emollient properties.
Don’t forget essential oils for fragrance and additional benefits; peppermint or lavender can be refreshing.
Lastly, a natural sweetener like honey or stevia can enhance flavor.
Step-by-Step Instructions to Make the Balm
Once you’ve gathered your ingredients, it’s time to make your lip balm. Follow these steps for a smooth and effective process:
-
Melt the Base: In a double boiler, combine your beeswax and carrier oil. Heat until fully melted, stirring continuously.
-
Add Flavor and Color: Once melted, remove the mixture from heat. Add your essential oils and any natural colorants for a personal touch. Stir well.
-
Pour and Cool: Carefully pour the mixture into lip balm containers. Allow it to cool completely before sealing.
Congratulations! You’ve just created a nourishing balm for your lips.
Enjoy the satisfaction of knowing you mastered this simple yet effective DIY project. Your lips will thank you!
Tips for Applying and Storing Your Lip Balm
Applying and storing your homemade lip balm properly can enhance its effectiveness and longevity. Start by using clean fingers or an applicator to prevent contamination. Apply a thin layer to your lips, focusing on the corners and any particularly chapped areas. Reapply as needed, especially after eating or drinking.
For optimal results, apply your balm before bed to let it work overnight.
When it comes to storage, keep your lip balm in a cool, dark place to preserve its ingredients. Avoid exposure to direct sunlight or extreme temperatures, which can compromise its texture and efficacy.
If you notice any changes in smell or consistency, it’s time to discard it. Master these tips, and you’ll enjoy smoother, healthier lips year-round.
Additional Natural Remedies for Lip Care
If you’re looking for extra ways to care for your lips beyond homemade balms, several natural remedies can help keep them healthy and hydrated. Here are three effective options:
-
Honey: This natural humectant not only moisturizes but also has antibacterial properties, promoting healing.
-
Coconut Oil: Rich in fatty acids, it provides deep hydration and creates a protective barrier against environmental stressors.
-
Aloe Vera: Known for its soothing qualities, aloe can reduce inflammation and provide relief for dry, chapped lips.
Incorporating these remedies into your lip care routine can enhance your efforts and lead to soft, supple lips.
Frequently Asked Questions
Can Children Use This DIY Lip Balm Safely?
Yes, children can use this DIY balm safely, as long as you choose natural ingredients and avoid allergens. Always test a small amount first to ensure there are no reactions, and supervise younger children during application.
How Often Should I Apply the Lip Balm?
You should apply the lip balm whenever your lips feel dry or uncomfortable. Generally, reapplying every couple of hours, especially after eating or drinking, ensures your lips stay hydrated and protected throughout the day.
Can I Add Flavoring to the Lip Balm?
Absolutely, you can add flavoring to your lip balm! Just ensure you use safe, skin-friendly options. Experiment with natural extracts or essential oils to create a unique blend that suits your taste and enhances your balm’s appeal.
How Long Does the Homemade Balm Last?
Homemade balms typically last about six months if stored in a cool, dark place. To maximize freshness, avoid introducing moisture, and always check for any changes in smell or texture before using.
Is It Safe to Use on Sensitive Skin?
Yes, it’s safe for sensitive skin, provided you test a small area first. Its natural ingredients typically soothe irritation rather than cause it, but everyone’s skin’s unique, so always listen to your body’s signals.