The DIY Lip Balm That Actually Heals Chapped Lips
To heal chapped lips effectively, you’ll need a DIY lip balm that combines key therapeutic ingredients. Start with beeswax for barrier protection, add coconut oil and vitamin E for antimicrobial benefits and inflammation reduction, then incorporate shea butter and lanolin to lock in moisture and repair damaged tissue. Apply this mixture every 4-6 hours on clean, dry lips for best healing. Understanding the science behind lip repair will help you create the most effective formulation for your needs.
Understanding Chapped Lips and Natural Healing
Your lips lack oil glands and contain minimal melanin, making them vulnerable to environmental damage. Cold weather, sun exposure, dehydration, and certain medications trigger moisture loss and inflammation. When creating homemade healing lip balm, you’ll need ingredients that address both the moisture barrier restoration and protective elements. Additionally, understanding the causes of chapped lips can help you choose the right ingredients for effective healing.
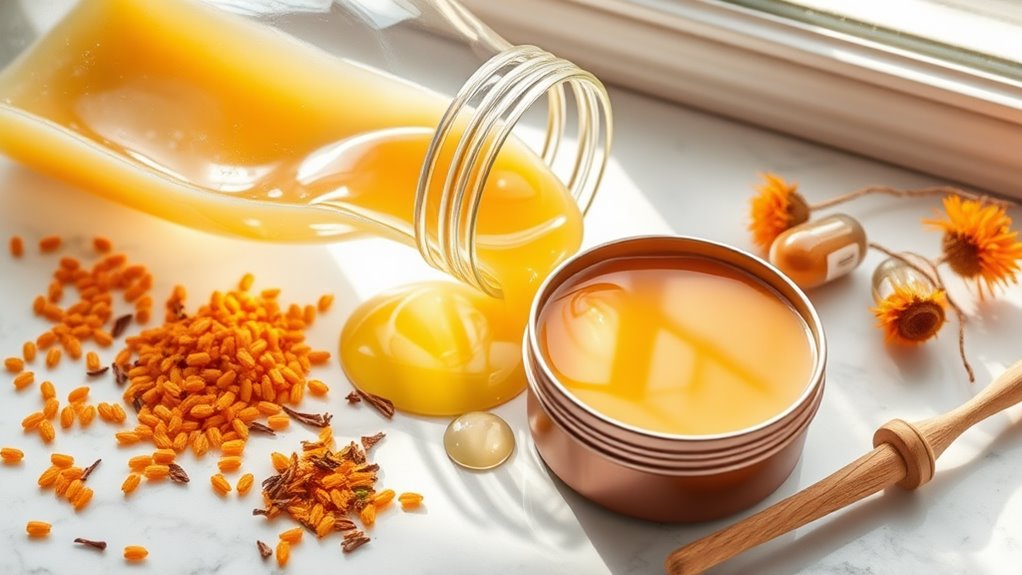
Essential Ingredients for Your Healing Lip Balm
Creating an effective lip balm requires specific ingredients that target both moisture retention and protective barriers.
You’ll need beeswax for its occlusive properties, coconut oil for antimicrobial benefits, vitamin E to promote healing, and shea butter to lock in moisture.
Essential oils like lavender or peppermint can provide therapeutic benefits, while lanolin acts as an emollient to repair damaged lip tissue. Additionally, incorporating omega-3 fatty acids in your diet can significantly boost skin health and enhance lip moisture.
Step-by-Step Recipe Instructions
Following these five precise steps will guarantee a properly formulated therapeutic lip balm with consistent medicinal properties.
- Heat beeswax and coconut oil in a double boiler to 170°F.
- Stir in vitamin E oil and essential oils.
- Test consistency on a cold spoon.
- Pour mixture into sterilized containers.
- Let cool for 30 minutes at room temperature until solidified. Additionally, using natural ingredients like honey can enhance the moisturizing properties of your lip balm.
Customizing Your Lip Balm With Natural Add-Ins
You’ll find that customizing your lip balm with therapeutic-grade essential oils, natural colorants, and medicinal herbs transforms a basic recipe into a personalized healing product. Adding 2-3 drops of peppermint or lavender essential oil per ounce of base provides antimicrobial properties and subtle flavor, while natural pigments like beetroot powder or cocoa create gentle tints. For enhanced healing properties, you can infuse your carrier oils with calendula, chamomile, or comfrey before incorporating them into your lip balm formulation. This customization allows for the incorporation of healing properties that can further nourish and protect your lips.
Essential Oils for Flavor
Essential oils offer a natural way to enhance your lip balm with therapeutic and aromatic properties.
Consider adding peppermint oil for cooling relief, lavender for soothing benefits, or citrus oils for an energizing effect.
You’ll need just 5-10 drops per ounce of base ingredients.
Choose therapeutic-grade oils and avoid synthetic fragrances that may cause irritation.
Natural Tints and Colors
Beyond scent and therapeutic benefits, natural colorants can transform your lip balm into a personalized cosmetic treatment.
For a rosy tint, incorporate beetroot powder or alkanet root.
Add cocoa powder or cinnamon for warm brown hues.
Mica minerals provide shimmer, while carrot-infused oil creates a subtle orange tone.
Activated charcoal delivers a modern gray shade with detoxifying properties.
Healing Herb Infusions
Healing herbs infused into lip balm base oils provide therapeutic benefits backed by centuries of traditional use and modern phytochemical research.
You’ll optimize your lip balm’s healing properties by incorporating these research-supported botanical infusions:
- Calendula’s triterpenoids reduce inflammation and promote tissue repair
- Chamomile’s apigenin compounds soothe irritated skin barriers
- Plantain leaf’s allantoin accelerates wound healing
- St. John’s Wort’s hyperforin demonstrates antimicrobial effects
Application Tips and Storage Guidelines
To maximize the therapeutic benefits of your homemade lip balm, apply a thin layer to clean, dry lips every 4-6 hours or when experiencing discomfort. Additionally, using a natural balm can help nourish and protect your lips effectively. Store your lip balm in a sealed container at room temperature (68-72°F) away from direct sunlight. The product remains stable for 6-8 months when properly stored. Don’t share applicators to prevent bacterial contamination.
Troubleshooting Common DIY Lip Balm Issues
When making DIY lip balm, several common formulation issues can affect texture, consistency, and shelf life.
You’ll need to address these problems quickly to achieve best results:
- Grainy texture indicates improper cooling – reheat and cool gradually at room temperature
- Soft consistency means insufficient wax ratio – add 5-10% more beeswax
- Separation occurs from inadequate emulsification – vigorously remix while cooling
- Mold growth suggests water contamination – use only anhydrous ingredients