The Ultimate DIY Remedy for Dry, Cracked Skin!
If you’re struggling with dry, cracked skin, the ultimate DIY remedy includes shea butter, coconut oil, and honey. Melt one cup of shea butter, mix in half a cup of your favorite carrier oil, and add a few drops of essential oil for fragrance. Apply the blend to your skin, massaging gently for better absorption. Remember, hydration starts from inside, so drink water and consider dietary omega-3s. There’s even more you can do for healthy skin!
Understanding Dry, Cracked Skin
Dry, cracked skin can feel uncomfortable and irritated, making daily activities a challenge. You might notice this condition appearing on your hands, feet, or elbows, areas that often lack natural moisture.
Environmental factors, such as cold weather and low humidity, can exacerbate the issue, pulling moisture from your skin. Additionally, frequent washing or exposure to harsh soaps can strip your skin of its protective oils, leading to further dryness.
Nutritional deficiencies, particularly in essential fatty acids and vitamins, can also contribute to your skin’s condition. Understanding these causes helps you tackle the root of the problem.
Essential Ingredients for Your DIY Remedy
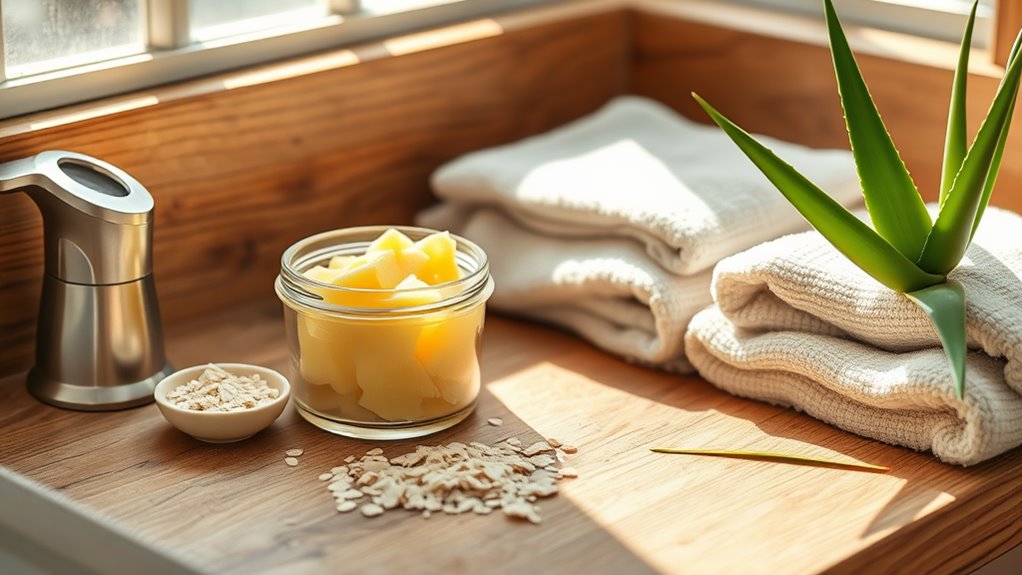
When crafting a DIY remedy for dry skin, selecting the right ingredients is crucial for restoring moisture and promoting healing. Here are three essential components you should include:
-
Coconut Oil: Packed with fatty acids, it deeply penetrates the skin, providing intense hydration and creating a barrier against moisture loss.
-
Shea Butter: Renowned for its emollient properties, shea butter nourishes and soothes dry, cracked skin, making it a powerhouse for repair.
-
Honey: This natural humectant draws moisture into the skin, keeping it hydrated and enhancing your remedy’s overall effectiveness.
Step-by-Step Guide to Creating the Moisturizing Treatment
Creating your own moisturizing treatment is a simple yet rewarding process that can transform your skincare routine.
Start by gathering your essential ingredients: carrier oils like jojoba or almond oil, shea butter, and a few drops of essential oil for fragrance.
Measure out one cup of shea butter and place it in a double boiler until melted.
Once melted, mix in half a cup of your chosen carrier oil and stir until fully combined.
Remove from heat and add your essential oil, blending well.
Allow the mixture to cool slightly before transferring it to a clean container.
Let it set completely, and you’ll have a luxurious, homemade moisturizer ready to nourish your dry skin.
Enjoy the mastery of your skincare!
How to Apply the DIY Remedy Effectively
To maximize the benefits of your homemade moisturizer, applying it correctly is key. Follow these steps for optimal results:
-
Prep Your Skin: Cleanse your skin thoroughly to remove dirt and oils. This ensures your moisturizer penetrates effectively.
-
Apply Generously: Take a sufficient amount of the DIY remedy and warm it between your palms. Apply it evenly over the targeted areas, focusing on dry patches.
-
Massage Gently: Use circular motions to massage the moisturizer into your skin. This not only enhances absorption but also stimulates circulation, promoting healing.
Tips for Maximizing Hydration and Healing
While you’ve already taken a big step by using a DIY remedy for dry skin, there are additional strategies that can significantly enhance hydration and healing.
First, drink plenty of water throughout the day to keep your body hydrated from the inside out. Incorporate foods rich in omega-3 fatty acids, like walnuts and flaxseeds, into your diet to support skin health.
Consider using a humidifier in your home to maintain moisture levels, especially during dry seasons. After applying your remedy, lock in that hydration with a thick moisturizer or natural oil, such as coconut or almond oil.
Lastly, avoid hot showers; instead, opt for lukewarm water to prevent stripping your skin of its natural oils.
Additional Natural Remedies for Skin Care
Exploring additional natural remedies can further enhance your skin care routine. Here are three powerful options to consider:
-
Aloe Vera: Known for its soothing properties, applying pure aloe vera gel can hydrate and heal dry skin effectively.
-
Coconut Oil: Rich in fatty acids, coconut oil acts as a natural moisturizer. Use it as a nightly treatment to lock in moisture and enhance your skin’s barrier.
-
Honey: This natural humectant attracts moisture, making it perfect for dry skin. Apply a thin layer of raw honey to your face, leave it on for 20 minutes, and rinse with warm water for a refreshing boost.
Incorporating these remedies can significantly elevate your skin’s health and appearance.
Maintaining Healthy Skin Year-Round
Maintaining healthy skin year-round requires consistent care and attention, even when seasons change. Start by establishing a daily skincare routine that includes cleansing, exfoliating, and moisturizing tailored to your skin type.
In winter, switch to richer creams to combat dryness; during summer, opt for lightweight formulations to prevent breakouts. Don’t forget sunscreen—apply it daily, regardless of the weather, to protect against UV damage.
Hydration is key, so drink plenty of water and incorporate foods rich in antioxidants, like berries and green leafy vegetables. Regularly assess your skin’s needs and adjust your products accordingly.
Frequently Asked Questions
Can I Use This Remedy on Sensitive Skin?
You can use this remedy on sensitive skin, but it’s wise to test a small area first. If irritation occurs, discontinue use. Always prioritize your skin’s comfort and consult a professional if unsure.
How Often Should I Apply the DIY Remedy?
You should apply the DIY remedy at least twice daily for optimal results. Monitor your skin’s response, adjusting frequency if irritation occurs. Consistency is key to achieving smoother, healthier skin that feels revitalized.
Is This Remedy Safe for Children?
Yes, this remedy’s generally safe for children, but you should always test a small area first. If irritation occurs, discontinue use immediately. Consult a pediatrician if you’re uncertain about any ingredients or their potential effects.
Can I Store Leftover DIY Remedy?
Yes, you can store leftover DIY remedy. Just make sure to keep it in an airtight container and in a cool, dark place. It’ll maintain its effectiveness longer and be ready for your next use.
What Should I Avoid After Applying the Remedy?
After applying the remedy, you should avoid harsh soaps, excessive moisture, and sun exposure. Don’t touch your skin unnecessarily, and steer clear of tight clothing that could irritate the area. Let it breathe and heal.