Tired of Chapped Lips. This DIY Balm Will Fix Them Overnight!
If you’re tired of chapped lips, this DIY balm will fix them overnight! Start by gathering beeswax, shea butter, and your favorite nourishing oil, like coconut oil. Melt the ingredients together, add essential oils for scent, and pour into containers to set. Apply generously to clean lips, focusing on dry areas. Keep your lips smooth by exfoliating weekly and staying hydrated. Want to know the benefits of each ingredient and tips for long-lasting smoothness? There’s more to discover!
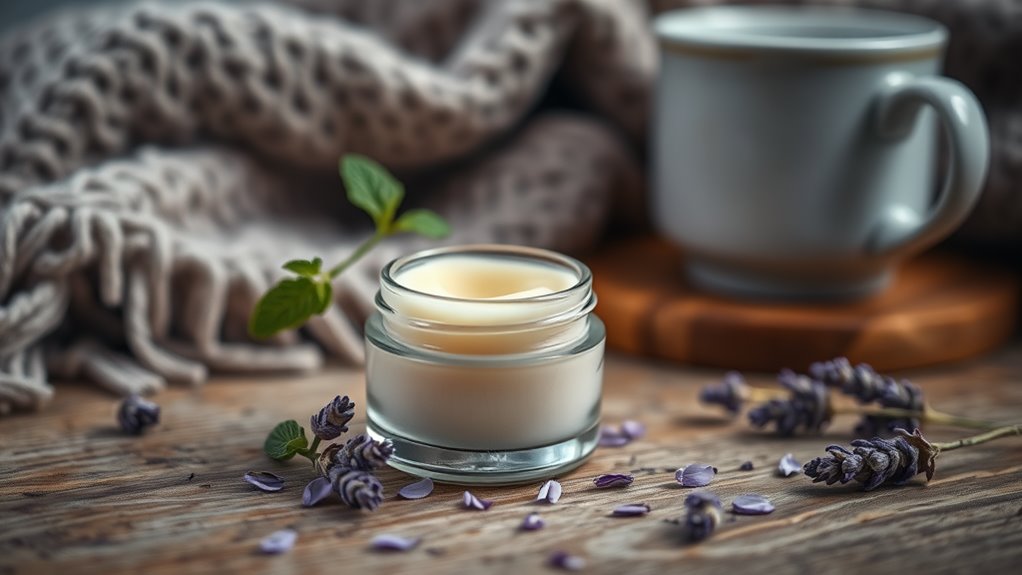
Gather Your Natural Ingredients
Before you dive into making your DIY balm, you’ll want to gather the right natural ingredients. Start with a solid base like beeswax or shea butter; these will provide structure and moisture.
Next, select your oils—coconut oil, almond oil, or jojoba oil are excellent choices for hydration and nourishment.
Don’t forget essential oils for added benefits and fragrance; lavender or peppermint can elevate your balm’s soothing properties.
If you prefer a tint, consider natural colorants like beetroot powder. Ensure all ingredients are high-quality and organic, as this will enhance your balm’s effectiveness.
With these key components on hand, you’ll be well-prepared to create a luxurious balm that will transform your chapped lips into a soft, supple canvas.
Step-by-Step Balm Preparation
Once you’ve gathered your ingredients, it’s time to start preparing your balm.
Begin by measuring out equal parts of beeswax, shea butter, and your chosen oil. In a double boiler, combine these ingredients over low heat, stirring gently until melted and fully blended.
Once melted, remove the mixture from heat and let it cool slightly. If you’re adding essential oils for fragrance or additional benefits, now’s the time; stir them in thoroughly.
Pour the mixture into small containers or tins, allowing them to set at room temperature. Wait for a few hours until the balm solidifies completely.
Congratulations! You’ve just created a hydrating lip balm that’ll transform your chapped lips overnight. Enjoy your mastery in DIY skincare!
Benefits of Each Ingredient
Each ingredient in your DIY balm plays a vital role in nourishing and protecting your lips.
For instance, shea butter is rich in vitamins A and E, providing deep moisture and promoting skin healing. Coconut oil boasts antimicrobial properties, creating a barrier against harmful elements while hydrating your skin.
Beeswax acts as a natural sealant, locking in moisture and forming a protective layer. Essential oils like peppermint or lavender not only enhance the scent but also stimulate blood flow, which can improve lip texture.
Finally, honey offers natural antibacterial qualities, soothing irritation and encouraging healing.
Together, these ingredients create a powerful blend that not only hydrates but also rejuvenates your lips, ensuring they stay soft and supple.
How to Apply the Balm for Best Results
To achieve the best results with your DIY lip balm, start by ensuring your lips are clean and dry. This prep work sets the stage for maximum absorption. Use your fingertip to scoop a small amount of balm; a little goes a long way. Gently apply it to your lips, focusing on the corners and any particularly chapped areas. Allow the balm to sit for a few moments, letting it penetrate deeply. For optimal results, reapply throughout the day and right before bed.
| Step | Action |
|---|---|
| Clean Lips | Wipe away any old product or debris. |
| Apply Balm | Use your fingertip to spread evenly. |
| Let it Absorb | Allow a few moments for maximum effect. |
Tips for Maintaining Smooth Lips
Although you may have found a great DIY balm for chapped lips, maintaining smooth lips requires consistent care.
Start by exfoliating gently once a week to remove dead skin cells. Use a soft toothbrush or a lip scrub to improve circulation and enhance softness.
Hydration is key—drink plenty of water throughout the day and consider using a humidifier, especially in dry environments.
Avoid licking your lips, as saliva can further dry them out. Instead, apply your balm regularly, particularly before bedtime.
Incorporate a vitamin-rich diet, focusing on foods high in omega-3 fatty acids and antioxidants.
Lastly, protect your lips from harsh weather by wearing a scarf or using a lip balm with SPF when outdoors.
Consistency will yield mastery over lip care!
Frequently Asked Questions
Can I Use This Balm on Other Dry Skin Areas?
Absolutely, you can use this balm on other dry skin areas. Its nourishing ingredients work wonders on elbows, knees, and even cracked heels. Just apply a small amount and let it absorb for best results.
How Long Can I Store the Homemade Lip Balm?
You can store your homemade lip balm for about six months in a cool, dark place. Just make sure to keep it in an airtight container to maintain its freshness and effectiveness during that time.
Is This Balm Safe for Children?
Yes, this balm’s generally safe for children. Just ensure you use natural ingredients, avoiding any allergens. Always test a small amount on their skin first, and keep an eye on any reactions that might occur.
Can I Add Essential Oils for Fragrance?
Yes, you can definitely add essential oils for fragrance! Just make sure to choose skin-safe oils and use them sparingly. A few drops will enhance your balm’s scent without overwhelming the other ingredients. Enjoy crafting!
What if I Have Allergies to the Ingredients?
If you’ve got allergies to the ingredients, it’s crucial you avoid them. Check labels carefully and consider using hypoallergenic alternatives. Always perform a patch test before applying any new product to your skin.