The DIY Trick That Will Leave Your Skin Soft & Glowing!
To achieve soft and glowing skin, start by identifying your skin type. Then, whip up a hydrating DIY moisturizer using nourishing oils like coconut or jojoba, honey, and essential oils such as lavender or tea tree. After cleansing your face, apply the moisturizer daily with gentle upward strokes, focusing on dry areas. Keep an eye on how your skin responds and adjust as needed. Discover more about essential ingredients and application tips to elevate your skincare routine.
Understanding Your Skin Type
Understanding your skin type is crucial for achieving that soft and glowing look you desire. Take a moment to assess your skin’s needs. Is it oily, dry, combination, or sensitive? Each type requires a tailored approach.
If you notice excess shine or enlarged pores, you might’ve oily skin. On the other hand, if your skin feels tight and looks flaky, it’s likely dry. Combination skin often presents both traits, while sensitive skin may react to products easily.
Essential Ingredients for Your DIY Treatment
To achieve that soft and glowing skin you crave, incorporating the right ingredients into your DIY treatments is essential.
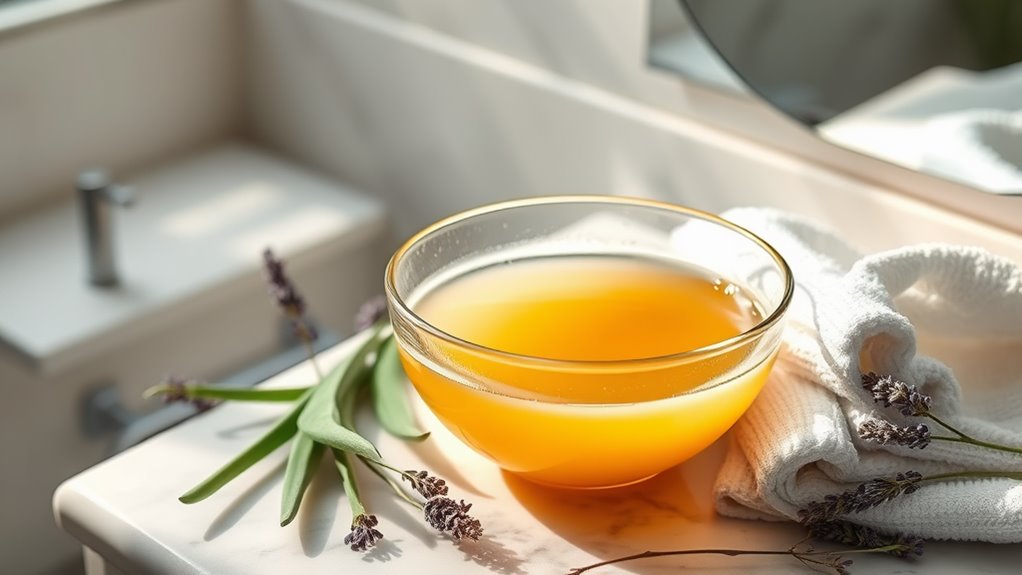
Start with nourishing oils like coconut or jojoba, which hydrate and lock in moisture. Honey’s natural humectant properties help your skin retain water, while its antibacterial qualities keep breakouts at bay.
Consider adding oatmeal for gentle exfoliation and soothing benefits, perfect for sensitive skin. Avocado, rich in vitamins, can boost your skin’s elasticity and overall health.
Don’t forget about essential oils like lavender or tea tree; they not only add fragrance but also provide healing properties.
Step-by-Step Guide to Create the Moisturizer
Once you’ve gathered your essential ingredients, creating your own moisturizer is a straightforward process that can be done in just a few easy steps.
Start by measuring out equal parts of your base oils, like coconut or olive oil, and place them in a mixing bowl. Next, add a few drops of your favorite essential oil for fragrance and skin benefits.
Blend the mixture until it’s smooth and well combined. For a creamier texture, you can incorporate shea butter or beeswax.
Pour your concoction into a clean, sterilized jar, and let it cool. Finally, label your moisturizer, so you remember what’s inside.
Enjoy the satisfaction of using a product made just for you, feeling connected to your skin’s natural beauty!
Application Techniques for Maximum Effect
While you might’ve created a fantastic moisturizer, how you apply it can significantly enhance its benefits for your skin.
Start with clean hands and a freshly washed face, setting the stage for maximum absorption. Use gentle upward strokes, allowing your fingertips to glide over your skin, promoting circulation and relaxation.
Don’t rush; take a moment to enjoy the process. Focus on areas that need extra attention, like dry patches or fine lines.
For added hydration, consider using a damp face cloth to press the moisturizer into your skin. This method locks in moisture while ensuring your skin feels soft and radiant.
Frequency of Use for Best Results
Applying your moisturizer correctly is only part of the equation; how often you use it plays a significant role in achieving that soft and glowing skin you desire.
To maximize your results, consider these frequency guidelines:
-
Daily Use: Apply your moisturizer every morning and evening to keep your skin hydrated and nourished.
-
After Cleansing: Always moisturize right after washing your face to lock in moisture while your skin is still damp.
-
Seasonal Adjustments: Pay attention to the weather; you might need more frequent applications during dry, cold months.
Additional Tips for Healthy Skin
To achieve and maintain healthy skin, it’s essential to incorporate a few additional habits into your routine.
First, always stay hydrated—drinking plenty of water helps your skin stay plump and radiant.
Don’t forget to nourish your body with a balanced diet rich in fruits and vegetables; they provide vital nutrients that promote skin health.
Establish a consistent skincare routine, including cleansing, toning, and moisturizing—your skin will thank you!
Also, try to get enough sleep, as rest is crucial for skin repair.
Lastly, don’t underestimate the power of sunscreen; protecting your skin from UV damage is key to keeping it youthful.
Embracing these habits can create a sense of belonging to a community that values healthy, glowing skin.
Common Mistakes to Avoid
Many people unknowingly sabotage their skin’s health with common mistakes.
By avoiding these pitfalls, you can enhance your skin’s natural glow and softness. Here are three mistakes to steer clear of:
-
Over-exfoliating: Stripping your skin of its natural oils can lead to irritation and dryness. Aim for gentle exfoliation just once or twice a week.
-
Neglecting hydration: Forgetting to drink enough water or skipping moisturizer can leave your skin looking dull. Hydration is key for that radiant look!
-
Ignoring sunscreen: Skipping sunscreen, even on cloudy days, can accelerate aging. Protect your skin daily to keep it youthful and vibrant.
Success Stories and Testimonials
Avoiding common skin care mistakes sets the stage for achieving that soft, glowing complexion you desire.
You’re not alone in your journey; countless others have shared their success stories after trying the DIY tricks we’ve discussed. Just like you, they’ve faced struggles with dull skin and breakouts.
After incorporating these simple techniques, they’ve transformed their skincare routines and seen amazing results. One user said her skin felt “like silk” after just a week, while another couldn’t believe the glow she achieved.
Frequently Asked Questions
Can I Use This DIY Trick on Sensitive Skin?
You can definitely try this DIY trick on your sensitive skin, but start with a patch test first. If it feels good, you’ll enjoy the benefits; if not, you can adjust or skip it entirely.
How Long Will the DIY Moisturizer Last?
Your DIY moisturizer can last about one to two weeks when stored in a cool, dry place. Just remember to check for any changes in smell or texture before using it again. Enjoy your glowing skin!
Are There Any Allergies to Consider With These Ingredients?
When using any DIY ingredients, it’s crucial to check for allergies. Always patch test a small amount first. This way, you’ll ensure your skin stays happy and safe without any unwanted reactions.
Can I Customize the Scent of My DIY Moisturizer?
Absolutely, you can customize your DIY moisturizer’s scent! Just add essential oils that you love. Experiment with different combinations until you find the perfect fragrance that makes you feel cozy and unique. Enjoy creating!
What Should I Do if I Experience Irritation?
If you experience irritation, stop using the product immediately. Rinse your skin gently with lukewarm water and apply a soothing balm or aloe vera. It’s essential to listen to your skin and prioritize its health.
