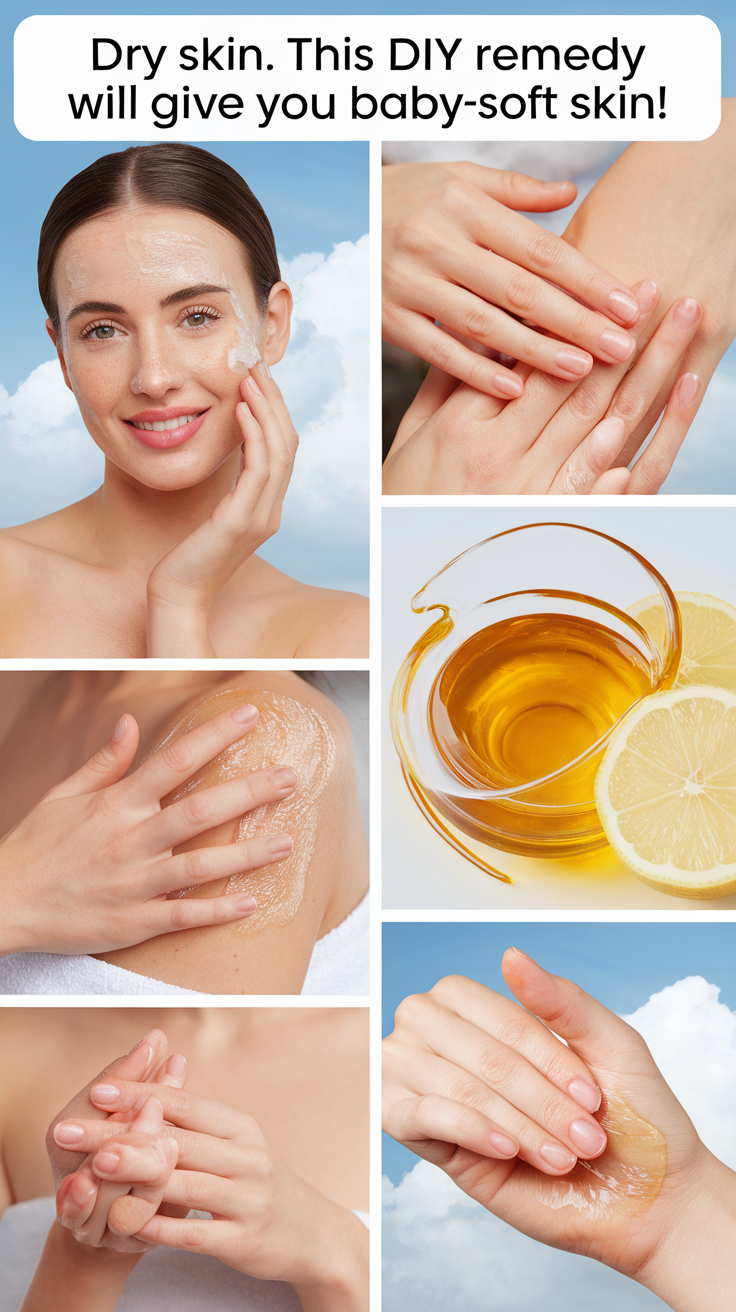
Dry Skin. This DIY Remedy Will Give You Baby-Soft Skin!
Struggling with dry skin? This DIY remedy can give you baby-soft skin in no time! Start by mixing coconut oil or shea butter with a light oil like almond oil. Add honey for hydration and a few drops of your favorite essential oil for scent. Apply it on damp skin after your shower for better absorption. You’ll love the results and could even create a personalized blend. Discover even more tips to keep your skin soft and smooth!
Understanding Dry Skin: Causes and Symptoms
When your skin feels tight or flaky, it’s often a sign of dryness, which can stem from various factors. You might notice this during colder months, when humidity drops, or after long hot showers.
Environmental elements like sun exposure and pollution can also contribute to your skin’s lack of moisture. Additionally, certain skincare products might strip away your skin’s natural oils, leaving it feeling uncomfortable.
Pay attention to symptoms like itching and redness, as these can indicate your skin’s need for hydration. Embracing a community that understands these struggles can make a world of difference.
You’re not alone in this; many share the same journey toward soft, healthy skin. Recognizing these causes is the first step to finding relief.
The Benefits of DIY Remedies for Dry Skin
DIY remedies for dry skin offer a practical and affordable way to restore moisture and comfort to your skin. By creating your own treatments, you can customize formulas that suit your unique needs, making you feel empowered and connected to your skin’s health.
These remedies often use natural ingredients, which means you can avoid harsh chemicals and preservatives found in store-bought products. Plus, the process of making your own moisturizer can be a fun, creative experience, bringing a sense of accomplishment as you nurture your skin.
Sharing your DIY creations with friends or family can foster a sense of community, making skincare a bonding experience. Embrace the benefits of DIY and enjoy the journey to baby-soft skin together!
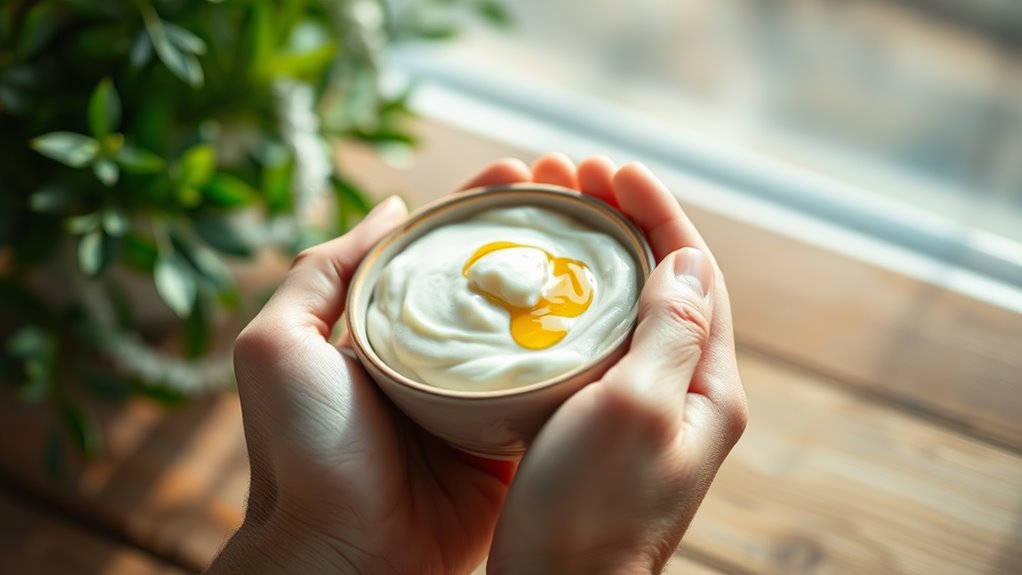
Key Ingredients for Your Homemade Moisturizer
Creating a homemade moisturizer can be a rewarding experience, and knowing the right key ingredients makes all the difference.
Start with a base like coconut oil or shea butter, which provide deep hydration and nourishment. Adding almond oil is great for its light texture and ability to absorb quickly, leaving your skin soft without greasiness.
Don’t forget essential oils—lavender or tea tree oil not only add a lovely scent but also offer healing properties. For an extra boost, consider incorporating honey for its natural humectant qualities.
Each ingredient plays a role, and blending them gives you a unique formula that speaks to your skin’s specific needs. Embrace the process, and soon you’ll have that baby-soft skin you’ve been dreaming of!
Step-by-Step Guide to Creating Your DIY Moisturizer
With the key ingredients in hand, you’re ready to whip up your homemade moisturizer. Start by measuring out equal parts of your chosen oils, like coconut or almond oil, and place them in a clean mixing bowl.
Next, add a couple of tablespoons of shea butter for that creamy texture. Now, gently heat the mixture until everything melts together—this should take just a few minutes.
Once melted, remove it from heat and let it cool slightly. For an extra boost, mix in a few drops of your favorite essential oil.
Finally, pour the blend into a clean jar, and let it set completely. Congratulations! You’ve just created a moisturizer that’ll give your skin that baby-soft feel you’ve been dreaming of.
How to Apply Your Homemade Moisturizer Effectively
To make the most of your homemade moisturizer, apply it to damp skin right after your shower or face wash. This helps lock in moisture and enhances absorption.
Start by scooping a small amount into your hands, then gently warm it up between your palms. Next, spread the moisturizer evenly across your skin, focusing on dry areas like elbows, knees, and heels.
Use upward, circular motions to stimulate circulation and promote relaxation. Remember to be gentle; your skin deserves a loving touch.
Lastly, don’t forget to give your face some extra attention. By incorporating this simple routine, you’ll not only nourish your skin but also create a moment of self-care that connects you with your own well-being.
Additional Tips for Maintaining Hydrated Skin
While moisturizing is crucial, staying hydrated from the inside out is just as important for maintaining healthy skin.
Here are some easy tips to help you keep your skin looking its best:
-
Drink plenty of water – Aim for at least eight glasses a day to keep your skin plump and vibrant.
-
Eat water-rich foods**** – Include cucumbers, watermelon, and oranges in your diet for an extra hydration boost.
-
Limit hot showers – Opt for lukewarm water instead, as hot water can strip natural oils from your skin.
-
Use a humidifier – Adding moisture to the air, especially in winter, can help prevent dryness and keep your skin soft.
Troubleshooting Common Issues With Dry Skin
Are you struggling with persistent dry skin despite your best efforts? You’re not alone, and there are common issues you can troubleshoot. Often, the right adjustments can lead to smoother, softer skin.
| Issue | Solution |
|---|---|
| Over-cleansing | Switch to a gentle cleanser |
| Not moisturizing enough | Apply moisturizer daily |
| Environmental factors | Use a humidifier at home |
| Using hot water | Opt for lukewarm showers |
| Skipping sunscreen | Incorporate SPF daily |
When to Seek Professional Help for Dry Skin
When should you consider reaching out to a dermatologist for your dry skin? If you’re feeling lost in your battle against dryness, it’s essential to know when to seek professional help.
Here are some signs that indicate it’s time to connect with a skin expert:
-
Persistent Flakiness: Your skin remains dry and flaky despite your best efforts.
-
Severe Itching: Uncontrollable itching disrupts your daily life and sleep.
-
Cracks or Bleeding: Your skin develops painful cracks or starts bleeding.
-
Redness or Swelling: You notice unusual redness or swelling that doesn’t fade.
Don’t hesitate to reach out! A dermatologist can help create a personalized plan to restore your skin’s health and give you that baby-soft texture you desire.
Frequently Asked Questions
Can I Use Essential Oils in My DIY Moisturizer?
Absolutely, you can use essential oils in your DIY moisturizer! Just make sure to dilute them properly. They’ll not only add delightful scents but also provide added benefits for your skin. Enjoy creating your perfect blend!
How Often Should I Apply the Homemade Moisturizer?
You should apply your homemade moisturizer daily, ideally twice a day, to keep your skin nourished and soft. Consistency is key, so make it a part of your routine for the best results.
Is It Safe for Children to Use This Remedy?
Yes, it’s generally safe for children to use this remedy, but always patch-test first. Their skin can be sensitive, so make sure there’s no irritation. You want them to enjoy the benefits without any concerns!
Can I Store the Homemade Moisturizer, and for How Long?
You can store your homemade moisturizer in a cool, dark place for up to two weeks. Just make sure to use a clean container, and it’ll stay fresh and effective for you to enjoy!
Are There Any Allergies to Consider With DIY Ingredients?
When making DIY products, always consider potential allergies. Check ingredient labels and do patch tests before using. You want to ensure your skin’s safety, so it’s best to avoid any ingredients that might cause irritation.